Instructions
ASSEMBLY
Follow these instructions to assemble all versions of the UniPiCase.
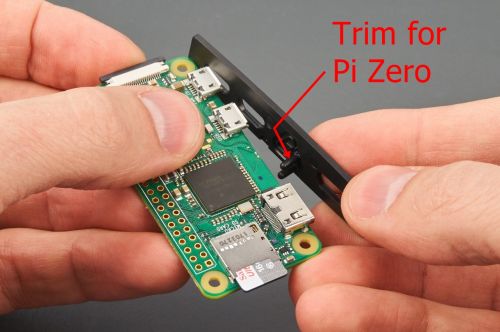
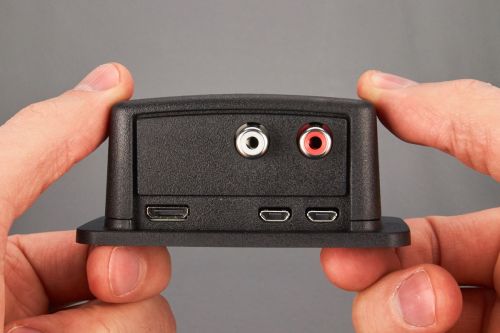
Step 1 - Short Cases
Short faceplates feature two stabilizing fingers which straddle the Zero w board. The upper finger must be removed for compatibility with the Zero board.
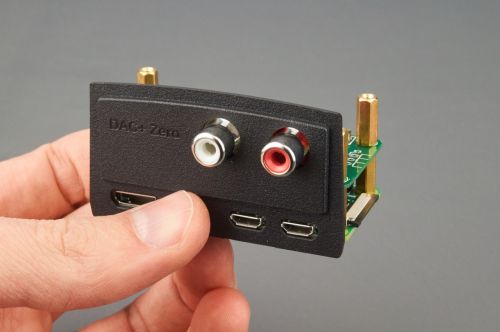
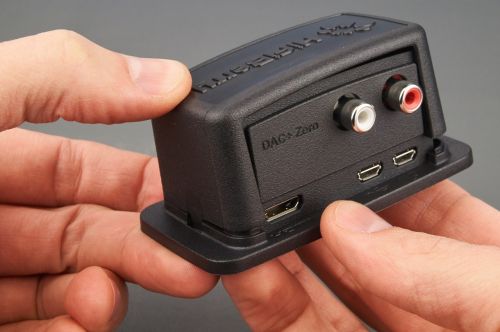
Step 1
Place the faceplate over the Pi and add-on board (if present), and hold them together in one hand.
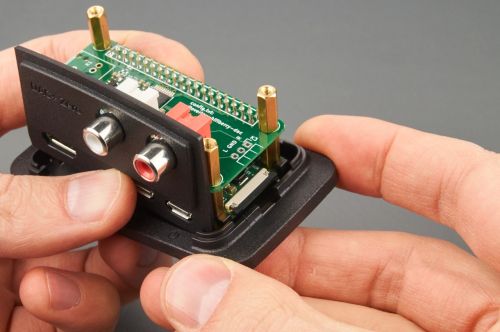
Step 2
Insert the ‘power’ end of the Pi board under the two catches in the base.
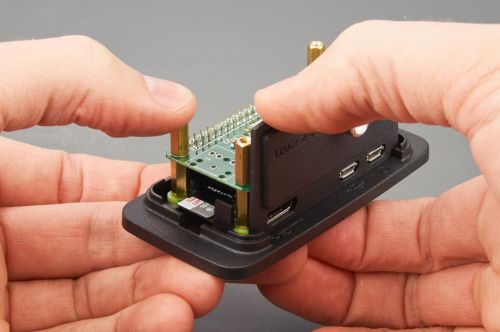
Step 3
Press down on the ‘HDMI’ end of the assembled boards and on the faceplate at the same time, until the Pi board snaps into the base.
Step 4
Place the lid loosely on top of the faceplate and boards, and guide the first snap into the base.
Step 5
Press inward and down to lock the second snap into the base.
DISASSEMBLY
Follow these instructions to disassemble all versions of the UniPiCase.

Step 1
Pull gently on the lid while releasing both snaps on the underside of the base. You can use your finger or a tool.

Step 2
Pull the lid away from the base. If they don’t separate easily, make sure both snaps are free.
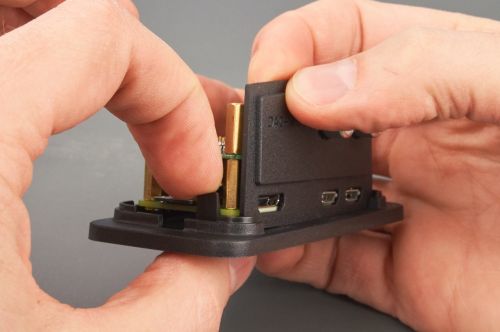
Step 3
Release the latch that secures the board with one hand, and then pull the faceplate upwards with the other to begin separating the Pi board from the base.
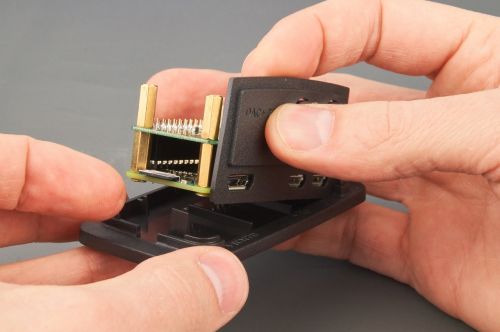
Step 4
Remove the faceplate and Pi/add-on board from the base.